Slider

Cerca nel sito

Churros! La mia ricetta

lunedì 20 giugno 2016


Ciao a tutti! Oggi vorrei condividere con voi la mia banalissima ricetta per fare i churros. Per chi non li conoscesse, sono dei bastoncini sfiziosi molto croccanti tipici della Spagna. Gli ingredienti e l'intero procedimento è semplicissimo, si possono realizzare anche da soli ma vi consiglio di farvi aiutare per velocizzare i tempi.

Ingredienti:
50g burro
250ml acqua
200g farina
pizzico di sale
olio di semi

Procedimento:
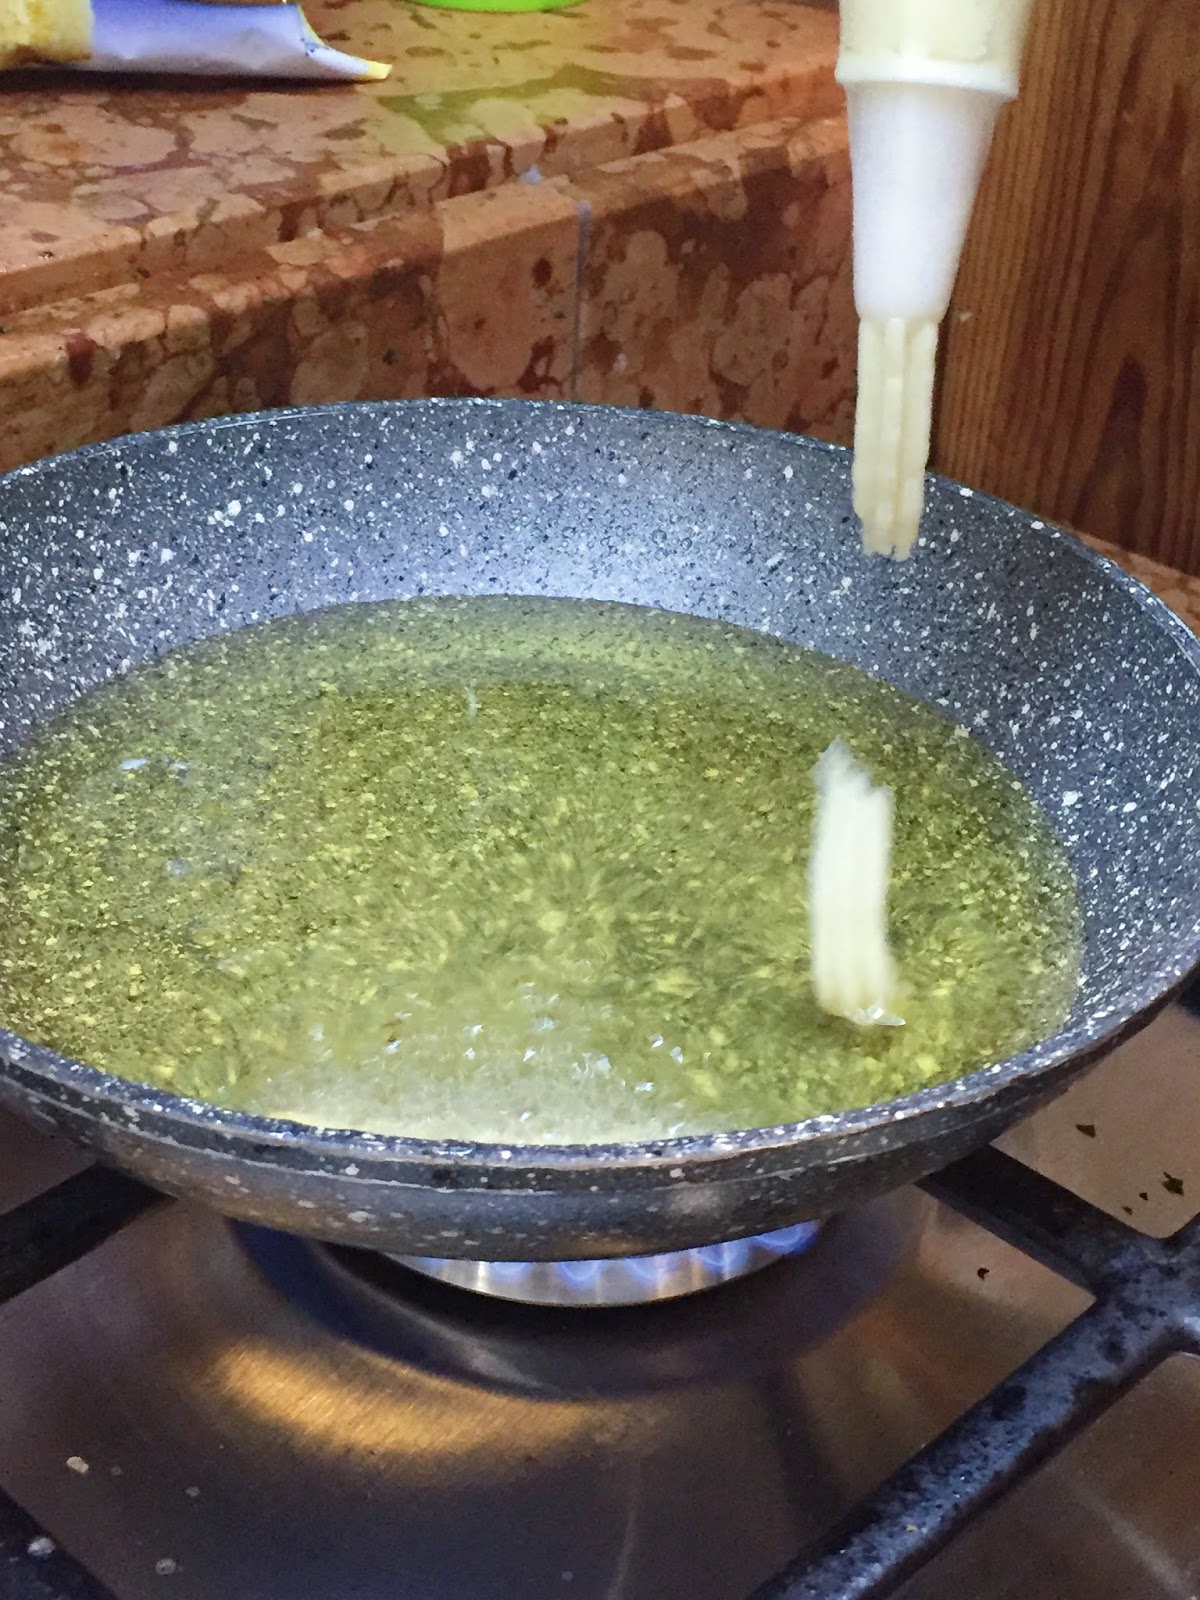
In un pentolino a fuoco medio, far sciogliere il burro e aggiungere l'acqua e il sale. Spegnere il fuoco e aggiungere poco alla volta la farina. L'impasto deve essere compatto ma non troppo denso se no non riuscirete a gestirlo con la sac-à-poche. Mescolare bene e aspettare che l'impasto si raffreddi un po'. Mettere sul fuoco una padella con l'olio. Trasferire in una sac-à-poche l'impasto e spremere dei bastoncini da friggere nell'olio. Potete aiutarvi con delle forbici per spezzare l'impasto. Lasciar friggere finché i bastoncini non si dorano. Trasferire su carta assorbente e, mentre sono ancora caldi e un po' unti, aggiungere dello zucchero semolato. Tutto qua :)


Voi avete mai mangiato i churros? Vi piacciono?

Virtual hugs,
Doni

Fiocchi di neve personalizzati | TUTORIAL

martedì 15 dicembre 2015


Oggi eccovi un breve tutorial su come creare dei fiocchi di neve utilizzando dei soggetti a vostra scelta! Penso siano molto carini per decorare casa, l'albero di Natale, creare delle ghirlande da mettere in camera o semplicemente per decorare i pacchi e i biglietti di auguri.


Ecco qui l'immagine del cerchio che ho utilizzato:


Il mio disegno di Totoro:


Altri esempi di fiocchi:


Siti dove poter trovare dei bellissimi pattern per creare fiocchi di neve:


Cuscino gatto | DIY

venerdì 6 febbraio 2015


Ispirazione felina oggi! Vi mostrerò come realizzare un cuscino a forma di gatto ^^

Occorrente:
Tessuto morbido
ago e filo
forbici
opzionale: colla, occhi/naso per bambole

Ritagliare dal tessuto 4 rettangoli 20x30cm e 2 quadrati 20x20 cm. Su un quadrato comporre la faccia. Io ho ritagliato 2 cerchi per gli occhi e li ho cuciti, ho usato un naso di plastica e cucito 2 linee sotto ogni occhio per fare i baffi.
Ritagliare 4 triangoli per le orecchie (7x5 cm) lasciando un cm di margine sotto; cucire assieme.
Posizionare le orecchie sul quadrato/viso con le punte verso il basso, sovrapporre un rettangolo e cucire. Posizionare un altro rettangolo su un altro lato del quadrato e cucire. Ripetere per i rimanenti lati.


Ritagliare 2 sagome per la coda, cucire assieme e posizionarla su un rettangolo, sovrapporre il quadrato rimanente e cucire. Cucire insieme i lati dei rettangoli. Cucire anche i lati del quadrato, lasciando un foro per poter risvoltare e imbottire


Una volta terminata l'imbottitura, cucire il foro rimasto ed ecco il nostro cuscino terminato! :)


Love sweeties | Gift DIY & Recipe

lunedì 10 febbraio 2014


Another post about Valentine's day! Today I want to share with you 2 very simple recipes that you can use not only in this occasion. Enjoy ^^

Chocolate and puffed rice "cake pops"
Ingredients: 2 Mars and some puffed rice
I melted the 2 chocolate bars and then I added gradually the puffed rice. Then I made some balls and finally put them on a stick. I let them rest for about 45 minutes and that's all! Very simple but delicious

How to share
I put the cake pops in 2 bottles which I decorated with some love labels


Love bars
Ingredients: 100g white chocolate, some cocoa wafers and sugary "balls"
I melted the chocolate and then I dip the wafers in it. I put the wafers on a baking paper and sprinkled them with the sugary balls. Finally, I let them dry form 1 hour. Super yummy ^^

How to share
I put the wafers in a box that I made with cardboard and wrapping paper (as I made for the coupons). Here is the template:


Other box idea:


I hope you like these 2 gift ideas, let me know if you try them and share with me, I would really appreciate :)

~Chibiistheway


Love coupon | Gift DIY

giovedì 6 febbraio 2014

Valentine's day is coming and I though to make a handmade gift. I wanted to make something different this year and I thought: "What if I made some love coupons?". They're super easy to make and the final result is cute and personal. For this project I used:

cardboard (I used in red)
wrapping paper (inspired by Valentine)
glue
needle
puncher
ribbon

First, I chose the shape for my coupons (8x4 cm), then I copied the shape on a red cardboard. I cut the coupons and glued to the wrapping paper (I used some floral paper). I cut again the coupons and I cut a 5x2 cm pieces from the cardboard, I glued them to the coupons then I wrote on them. You can write everything, especially something that your partner would really appreciate. I marked a line 1cm from the edge of the coupons and then made the holes with a needle, because I wanted to pull out the coupons without ruining the package.. For the package, I made a cover, made 2 holes in each coupon and, with a ribbon, put together the coupons. Finished!


Easy to make but very cute and unique! Let me know what do you thing about this gift idea or if you have other ideas! :)

~Chibiistheway

Candles: how to make your personal one

martedì 21 gennaio 2014

I think candles can make a very romantic and relaxing atmosphere in a house. Here is a simple way to make your personal one.

What I use:
simple white candle
crayon
oil essential (rose, lemongrass, lavender...)
a jar or a container
sticks
funnel
pot


I use crayon and oil essential because they're oily so they can mix well with the wax of the candle. If you want to use other materials keep in mind this.
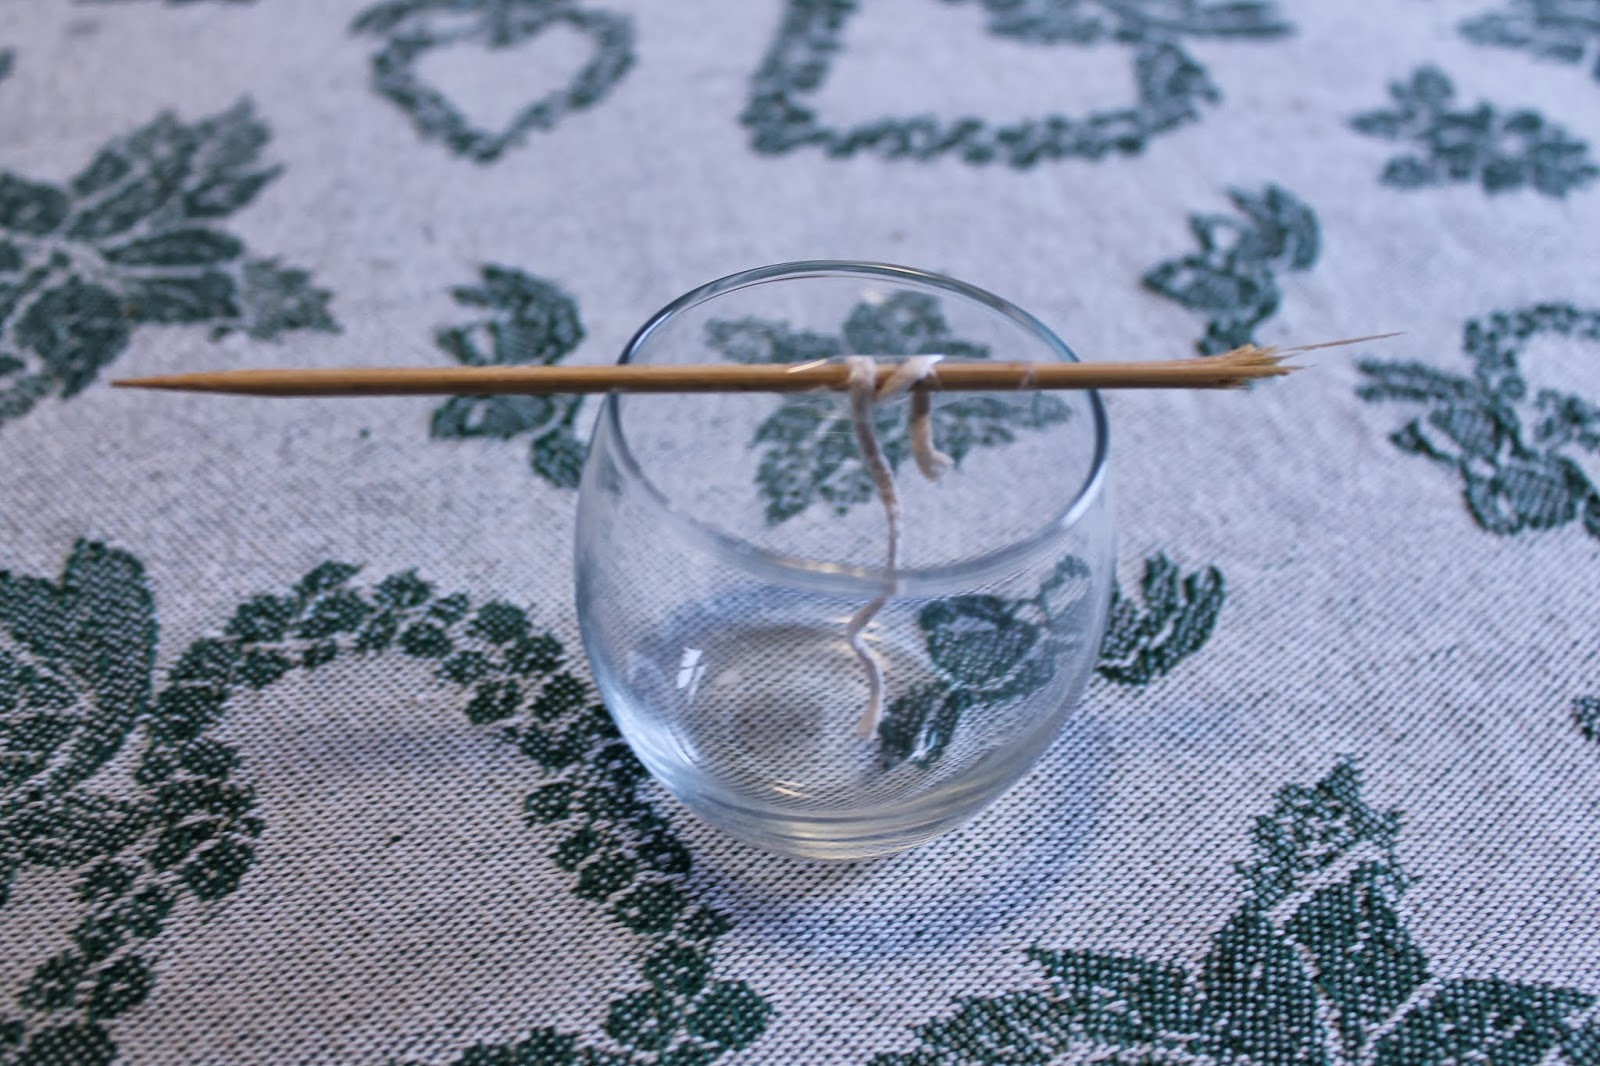
First, I secure the fuse with some tape on a stick. If you don't have a fuse, you can take it from the candles that you want to use: break the candle in 2 without breaking the fuse and pull one part of the candle to pull out the fuse or you can take the fuse while you're melting the candle.


In this case, I use 2 simple white candles and melt it in a pot with a hot pink crayon, then I add some drops of rose oil essential. I mix them with a stick and then I pour with a funnel into the jar.


I place the stick on the top of the jar and let the candle rest for 1-2 hours.


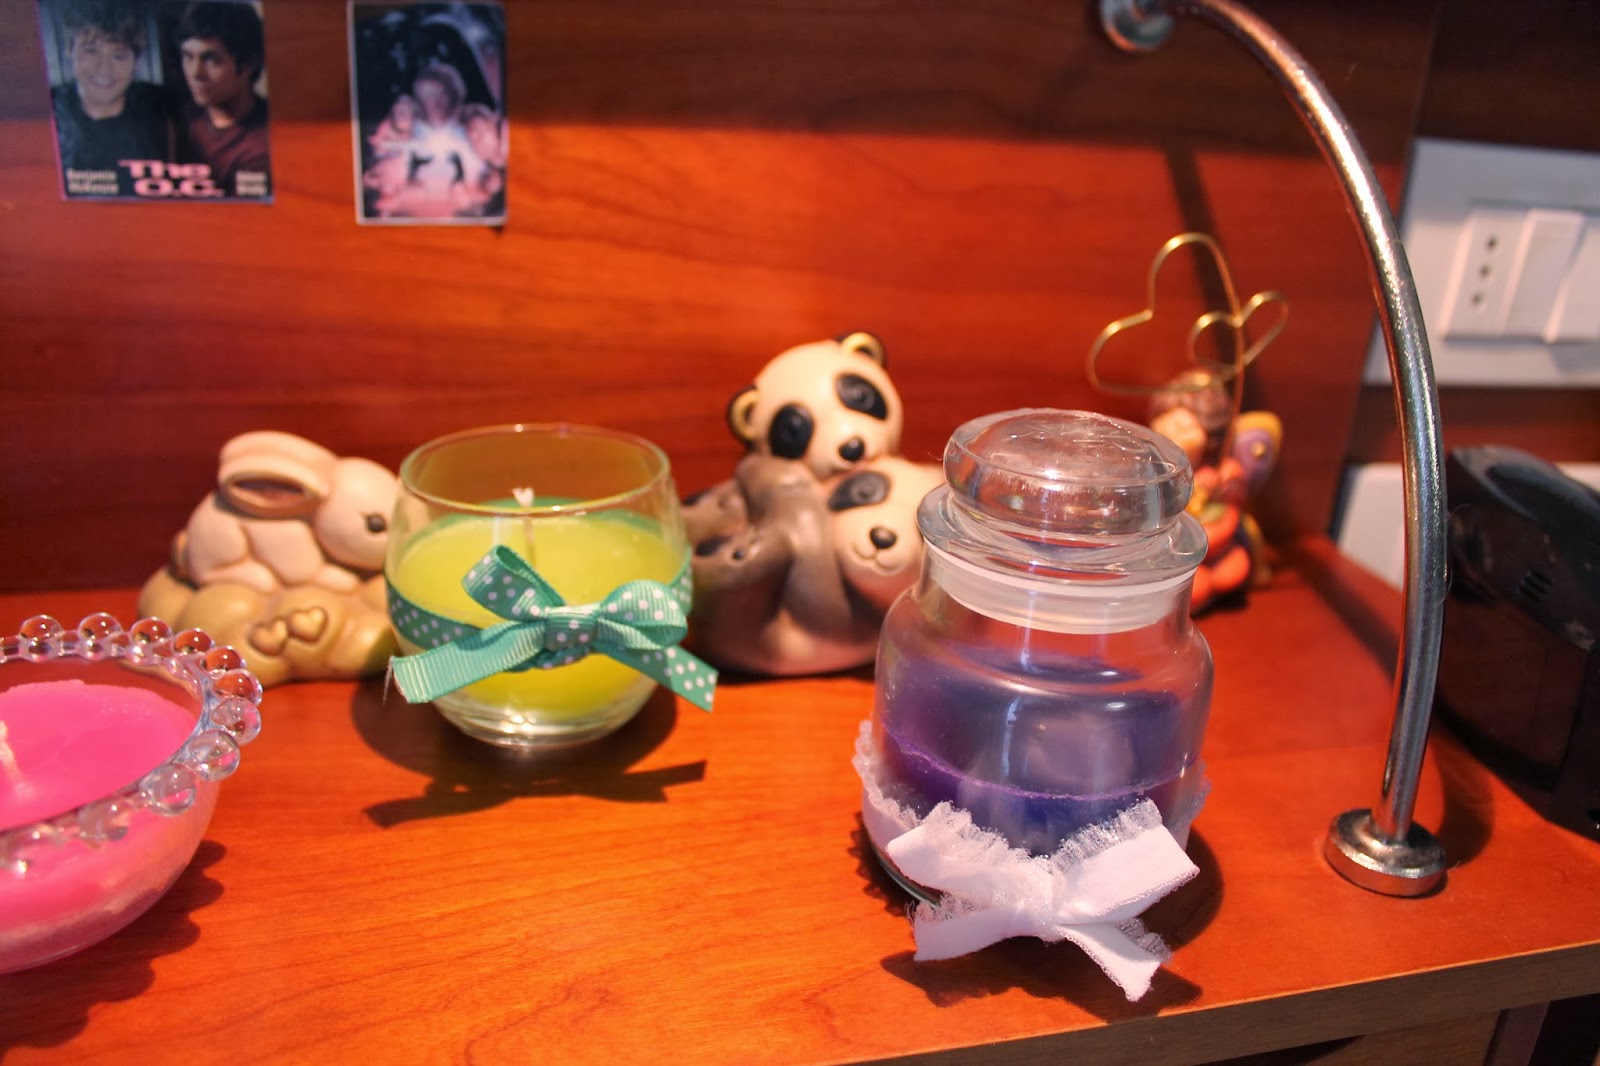
 Finally, I decorate the jars with some ribbons.


I think they're so cute and you can even recycle container that you don't use or Yankee Candles' jars.


Let me know if you try this or if you have other ideas! :)

~Chibiistheway

CopyRight © | Theme Designed By Hello Manhattan